We then discuss how different designs come about. Often there are water bottles sitting at the desks, so I will pick up two different designs and ask the students to talk about what is the same and different about the bottles. The bottles all hold water, but the tops, the color, the size, and the shape can all be different. I ask them why. Eventually, we get to the idea that different engineers have different ideas about how to design the bottles for different needs. I then ask them where the ideas come from, anad they will answer their brains. This discussion leads into the creativity exercise.
This exercise encourages the kids to work as a team to come up
with as many solutions to a challenge as they possible can. I link this exercise to the discussion about the creativity of engineers and their designs. The children are divided into teams of
three or four. The most challenging portion of
this exercise is to work as a team.
Often one member will dominate the team, the idea is to get them all to
contribute to the effort.
Introduction
Each team will be given a
challenge box. The challenge can come in
many forms:
a.
A large, upside down
cup taped to one corner of the box that contains a marble and a metal
ball. At the opposite corner is a cup,
also taped to the box. The challenge is
to move the marble and metal ball from the large cup to the small cup without
touching them.
b.
A barrier is set in
the middle of a challenge box. The
challenge is to move a marble and a metal ball over the barrier to the other
side without touching the balls.
c.
A barrier is set in
the middle of the challenge box, but on the other side is a cup which is taped
down. The challenge is to move a marble
and a metal ball over the barrier into the cup without touching them with their
hands.
This year, as you will be able to see from the photographs, I used option a. Each year I put together the boxes from whatever I can find in my stash. But these things can include:
Materials
·
2 or 3 index cards.
·
String, yarn, pipe cleaners, etc.
·
Blocks of various sizes.
·
Legos or tinker toys for building supports for a
track.
·
Magnets
·
Straws
·
A square of aluminum foil
·
Paper clips
·
Washers
·
Any other items that you think could be useful
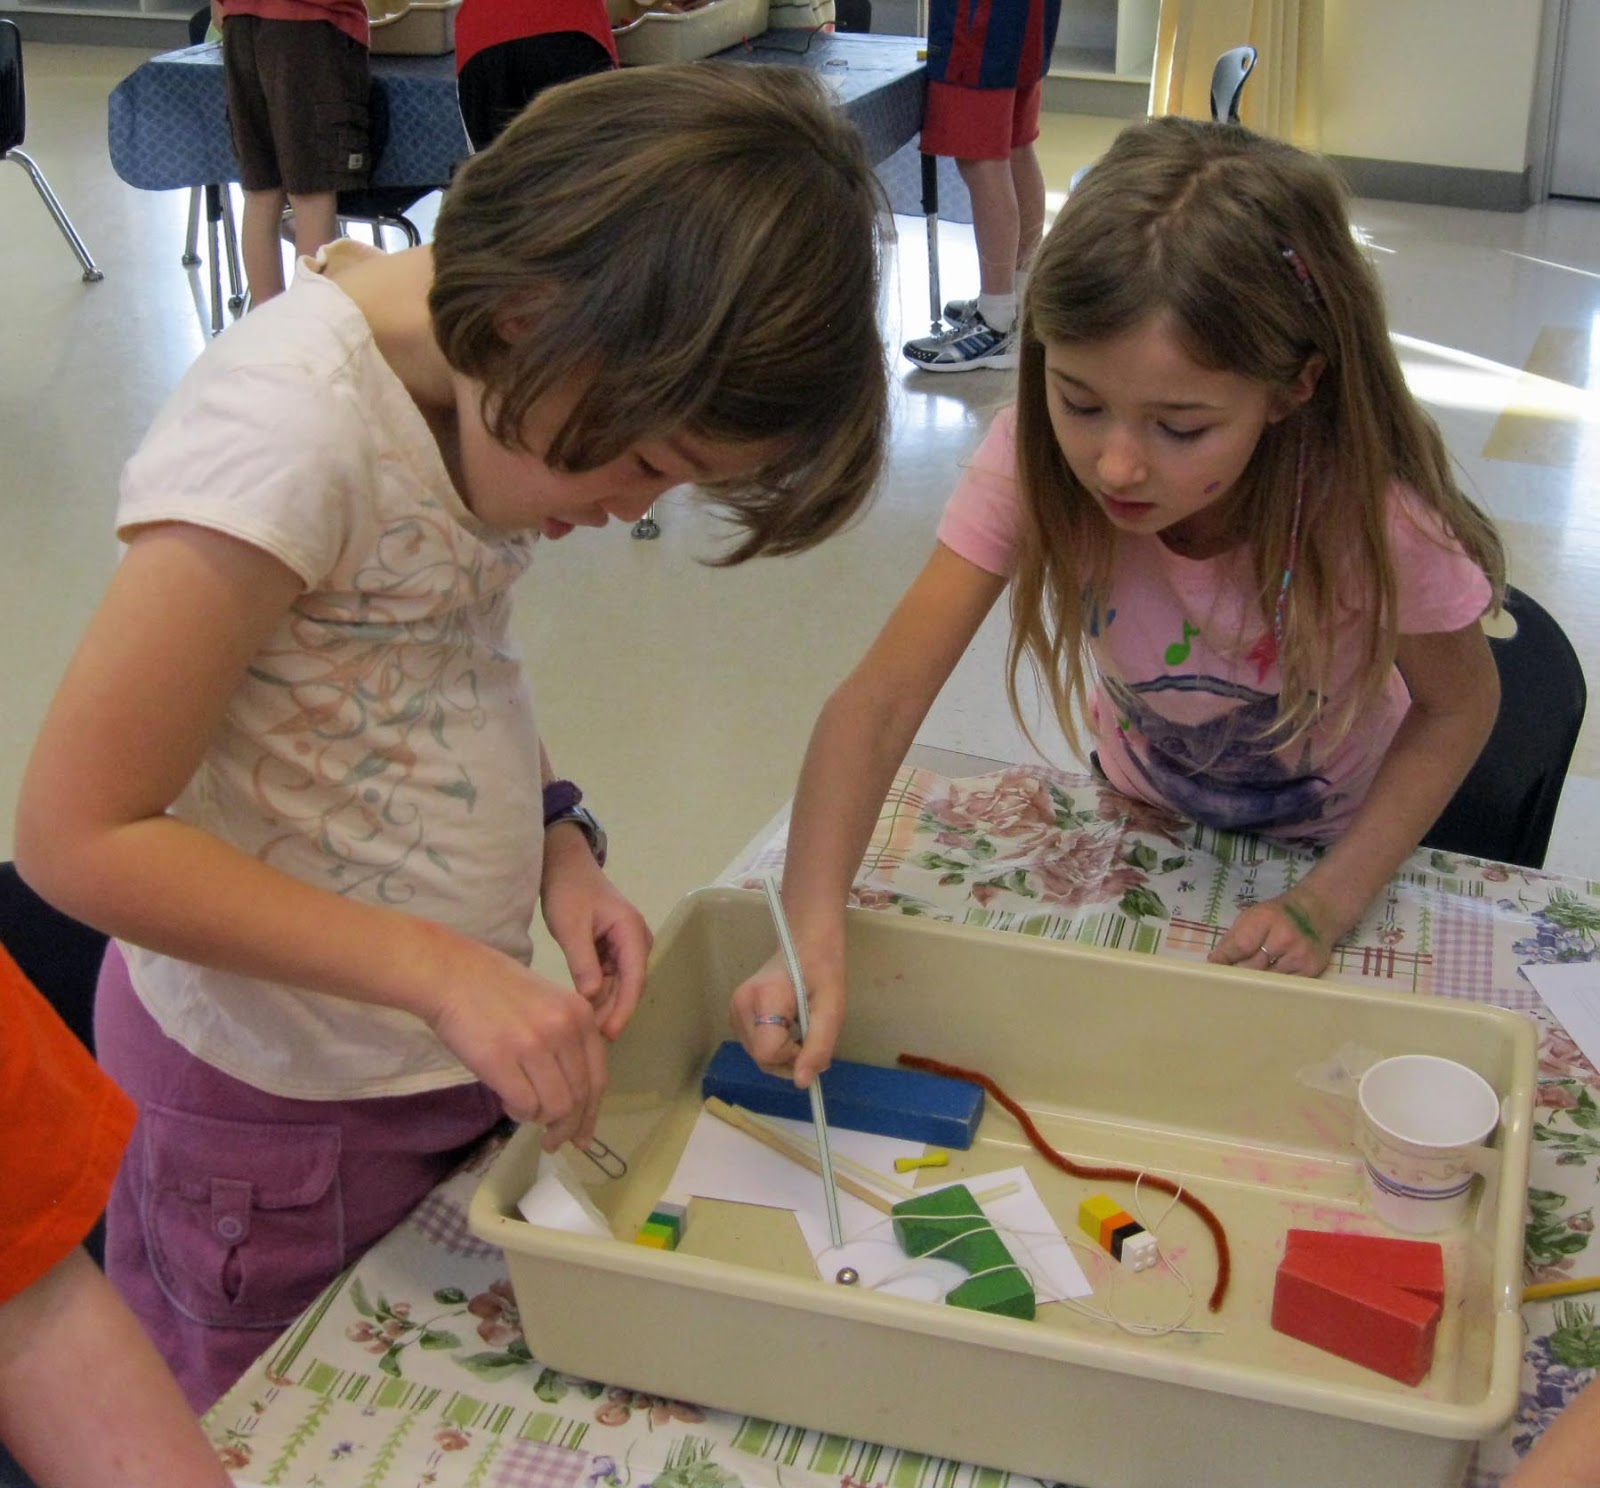
Here are some photographs from the six sessions we ran last week.- In the photograph below, you can see some of the materials we included in the box, which were wooden blocks, index cards, rubber bands, a paper clip, a pipe cleaner, a sheet torn from a magazine, a chopstick, unit cubes, and a straw. You can see the clear cup where the marble and metal ball are placed.
The series of photos below show various teams with some of their solutions. These girls are using a straw to move the metal ball.
This child is making a container out of legos.
These girls are trying to make a solution using paper.
This group is using half of an egg an a rubber band to scoop the balls off the top of the cup.
Here the girls have made some device out of string.
Here is the clever use of a rubber band to pick up a marble.
Here the students are working on a more elaborate device.
In general, the students like this activity. Their enthusiasm is always the thing that keeps me coming back. I was asked if I could come back and run this activity again the next day, and if I would come back the following week. I just hope what I am leaving them with is a more positive outlook on science and engineering, and hopefully sparking an interest that will continue with them throughout school.


No comments:
Post a Comment