Educational research shows that if you read about a topic you retain about 10%, if you only listen to a lecture about a topic you retain about 25%, 30% retention if you see the topic demonstrated, if you see and hear you retain about 50%, and if you see, hear, and repeat you retain about 70%. However, if you see, hear, repeat or say something about the topic and use the ideas, you will retain about 90% of the ideas. I am hoping that all the 4th graders at this school will now remember potential and kinetic energy.
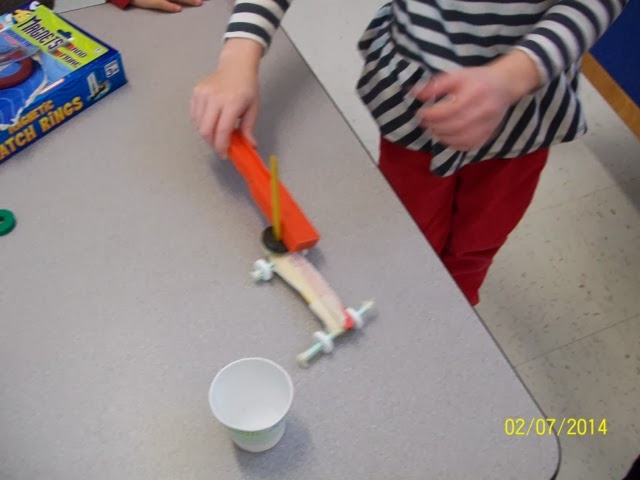
In this activity, the students build roller coasters and use a marble to run down the track and try to get the marble in a cup. They get various points for different design characteristics, which include: 90 degree turn, 180 degree turn, 270 degree turn, a loop, and a corkscrew. The students quickly learn that the corkscrew is the most challenging, followed by a large loop. Small loops are easy and can be combined with other attributes such as a 180 degree turn. As an added challenge, they had to use different marbles with different masses, a glass marble weighing 3.5 grams and a steel marble weighing 7.5 grams.
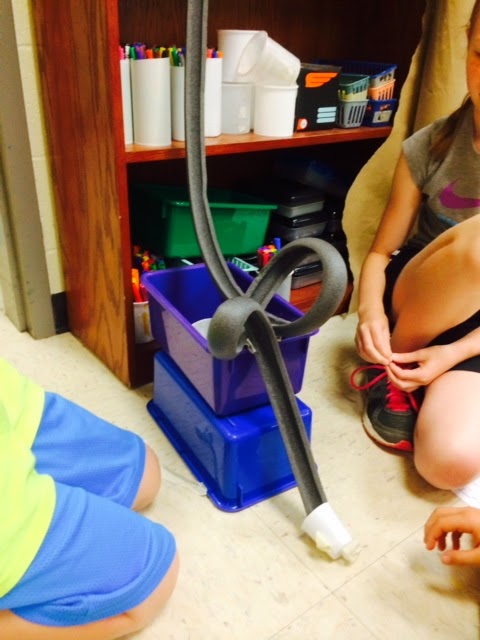
Here are just a few of the designs they produced.
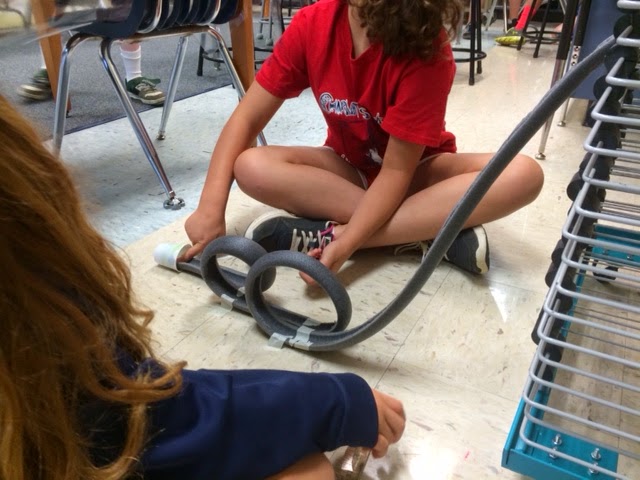
A loop d' loop.
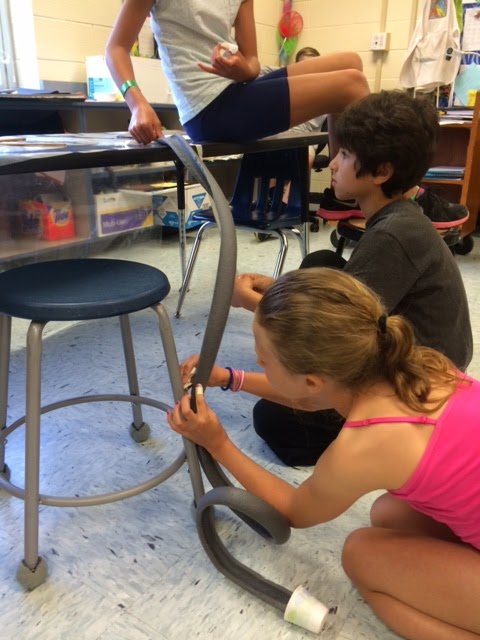
Corkscrew with a loop
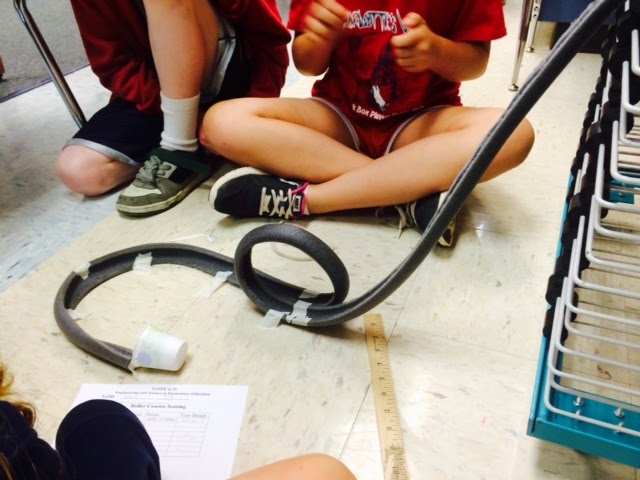
Loop with 180 degree turn
Another double loop